- System
- Dials
# Dials
The System module contains basic code lists for the complex webBox system.
# Setting code lists
Click on System - system management. In the left part of the screen, the basic code lists of webBox will appear (Companies, Departments, Users...).

# Companies
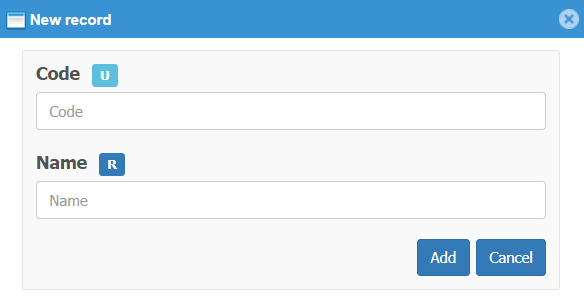
Clicking on the Management of companies icon allows you to enter one company:
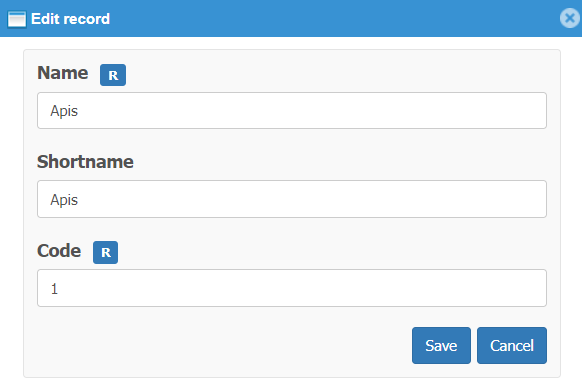
Save the created company with the Save button.
Note
R- value is required
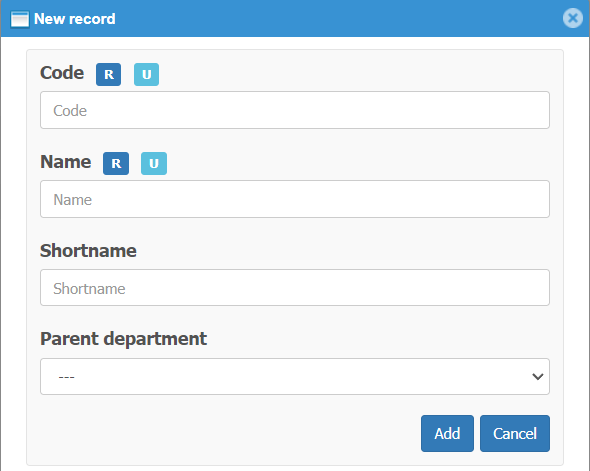
# Departments
Click on the icon and enter the department by pressing the New record button.
The code list allows you to enter an unlimited number of departments.
-
Code - department number (yours or continue in the order)
-
Parent department - determines the hierarchy of departments(if there is a parent department- you select it).
Use the Add button to save the created center.
Note
Enter the departments in sequence first parent and then child.
R- value is required
U- value must be unique
# Users
A user is a person who actively enters the webBox system or is registered in the webBox system (e.g. employee, diner, porter, etc.). Authorizations are assigned to the user. If you create a user, he is not included in attendance unless you assign him an employment relationship.
Click the icon and press the New record button to enter the user according to the table.
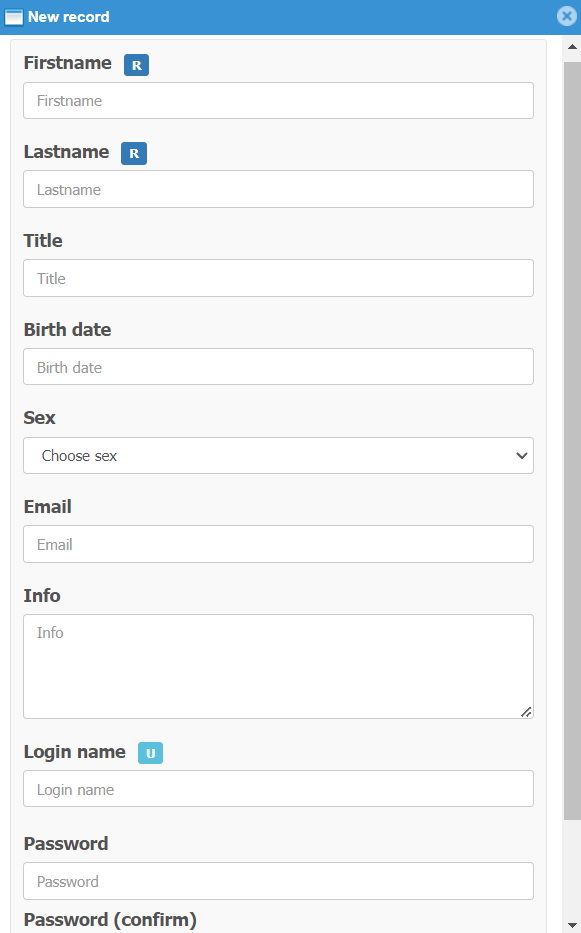
Use the Add button to save the created user.
Note
R- value is required
U- value must be unique
Important
Users can be imported when the system starts up. The import file is prepared exclusively by the SW technician of APIS spol. s.r.o
After import, it is possible to edit the user with the right mouse button, assign a type of employment, rights, upload a photo, delete.
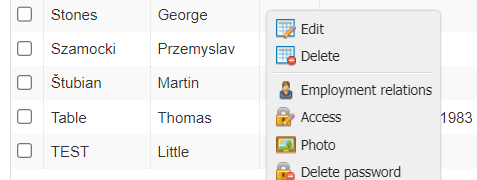
Assignment of type of employment see. Employees
# Photo
clicking on the Photo button will display a code listog box for uploading a photo from a file.
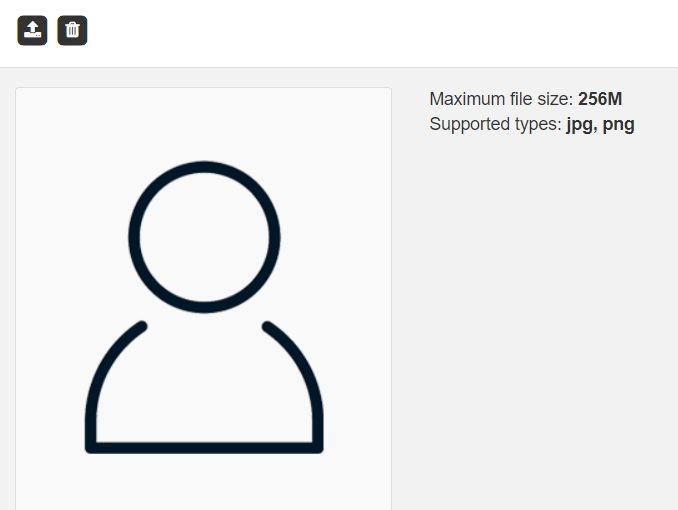
Press the arrow and select the user's photo from the file:
![]()
Note
The uploaded photo is displayed in the employee's attendance profile and in the grid (in the actual presence monitor) of the employee.
# Access rights
Assigning rights to individual webBox applications for specific users. The new user has no rights. Set the rights for applications by clicking.
After setting, press the Set access rights button:

Defining rights groups for individual applications:
- System see. Privileges groups
- webVisitor see. link
- webPatrol see. link
- webLuxdoor see. link
- webApetit see. link
# Type of employment
It is used to sort employees (better overview) according to their type of employment. Here you define the types of employment. Click on New recordand define the type of employment:
Use the Add button to save the created type of employment
Note
R- value is required
# Employees
An employee is a user who has an assigned type of employment and is included in attendance. After creating an type of employment, the employee is automatically exported to the list of users in the readersand it is possible to load his card or fingerprints.
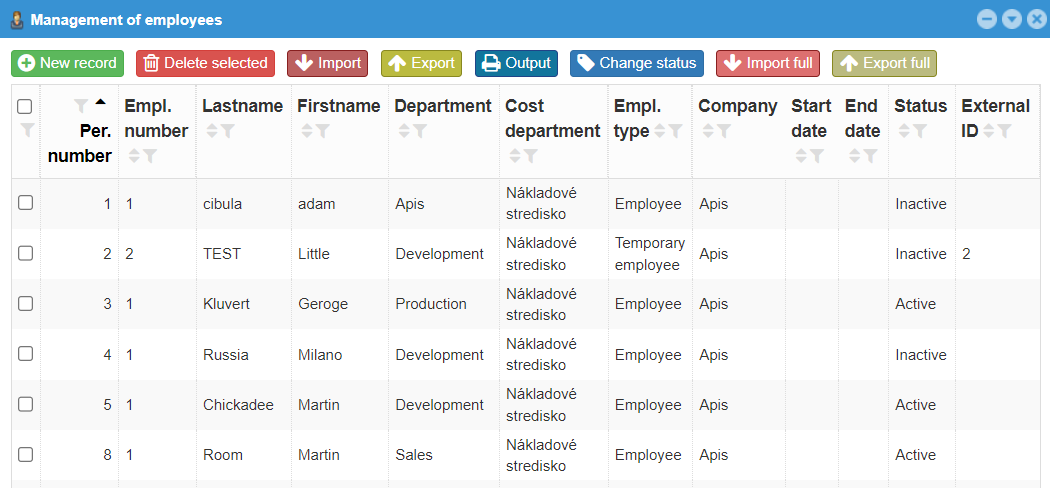
Press New record and assign the user a type of employment:
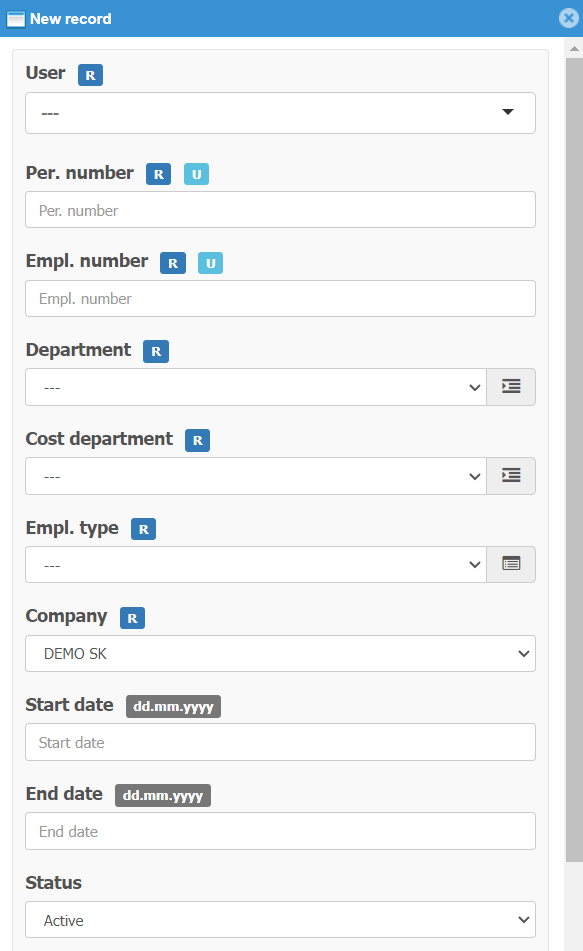
- User - selecting a user from the list of users
- Personal number- unique data is usually a number that is the same as the number of the employee in the wages SW
- Employment number- (as a rule, 1 type of employment), if the employee has 2 types of employment, he must be entered 2 times. Once with number 1 and the second time with number 2
- Department- select from the list of departments to which the employee belongs
- Employment type- select from the list of types of employment
- Company- assign company
- Start date- of type of employment (optional)
- End date- of type of employment (optional)
- Status- defines whether the employee is active in the type of employment. By choosing inactive, you end the type of employment of the employee in the system and at the same time the webVisitor license is released.
- External ID jis an identifier for entering an employee for a multifunctional attendance registration device from KONICA-MINOLTA (KM). The agreed format is NAME_SURNAME.
Note
R- value is required
U- value must be unique
# Breaks
The code list of existing breaks. You can add a new break if needed.

Press New Record to create another break:
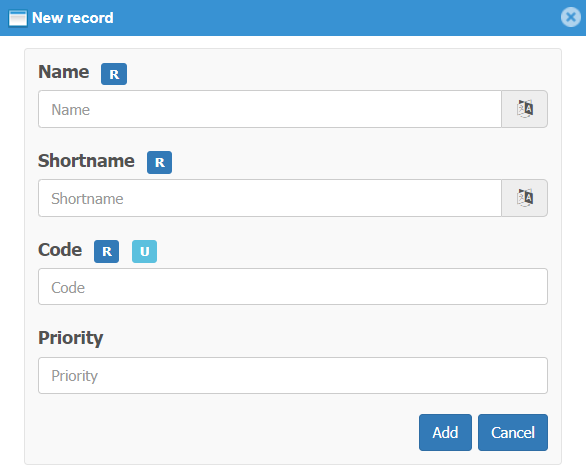
- Name enter a name for the break
- Shortname enter the shortname of the break
- Code enter the break code
- Priority defines the order in which breaks are displayed. The lower the value of the number, the higher the priority when displaying the given break. It is used e.g. in the sequence of displaying breaks on the KM multifunction device.
# Translator
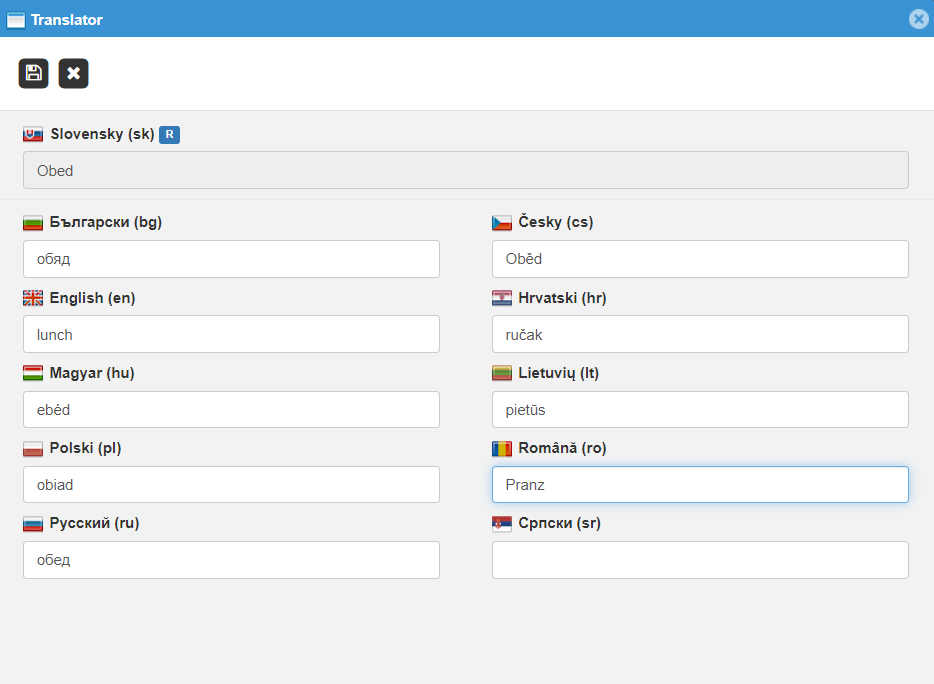
Breaks and their shortcuts can be entered in a foreign language. The prerequisite is the activation of the Translator module and the enabled given foreign language.
Click on the translator
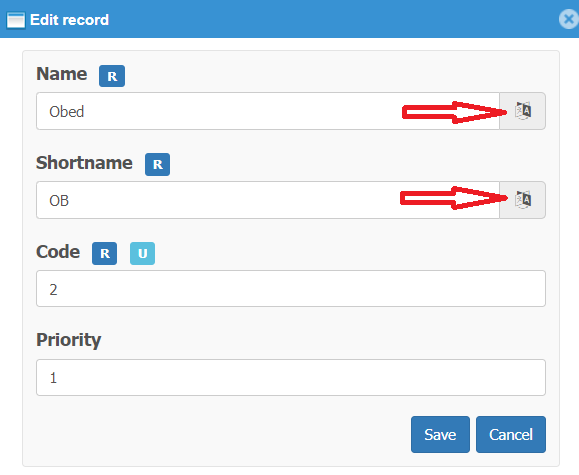
When the translator appears, enter a foreign language name for the break:
Similarly, click on the break shortcut translator and enter the foreign language shortcut. Save ![]()
# Countries
Entering the country where the attendance is registered serves for the correct distribution of public holidays.
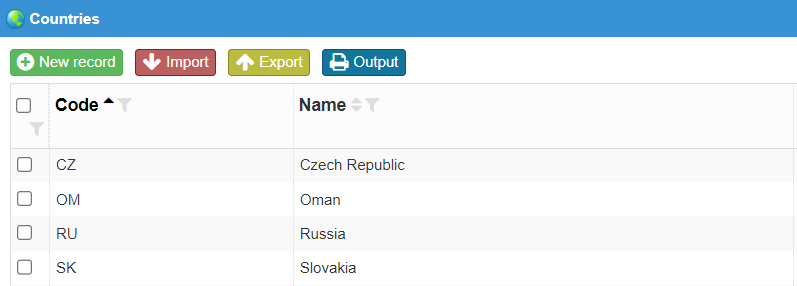
Another country can be added using the New record button.
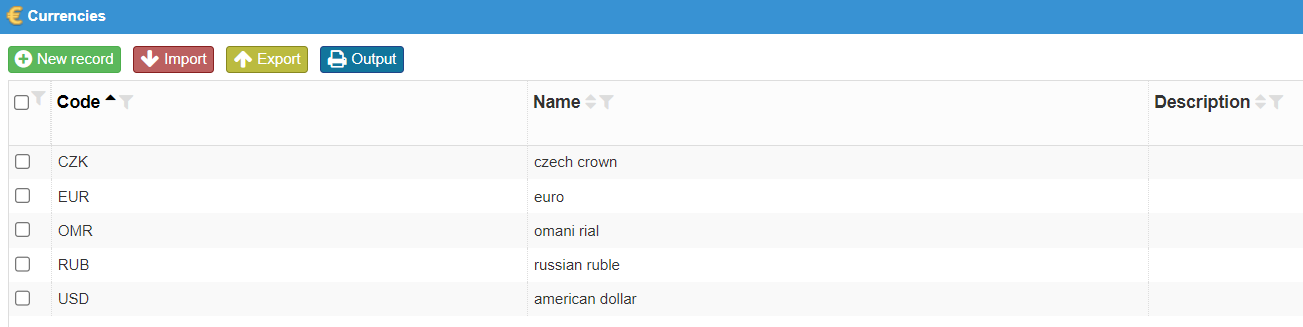
# Currencies
Predefined code list of currency units - currencies with the possibility of adding other currencies. It is used for the purchased module for creating and invoicing travel orders.
 Another currency can be added using the
 New record button.
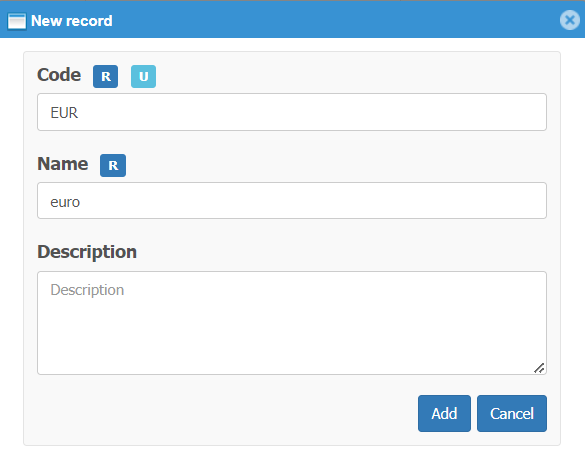
Note
R- value is required U- hodnota must be unique
# Holidays
List of all defined holidays. It is possible to define and add new holidays for individual countries.
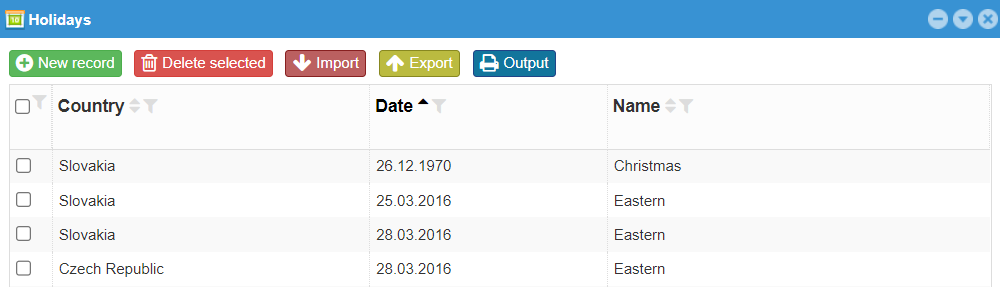
You can add another holiday for a specific country using the New record button:
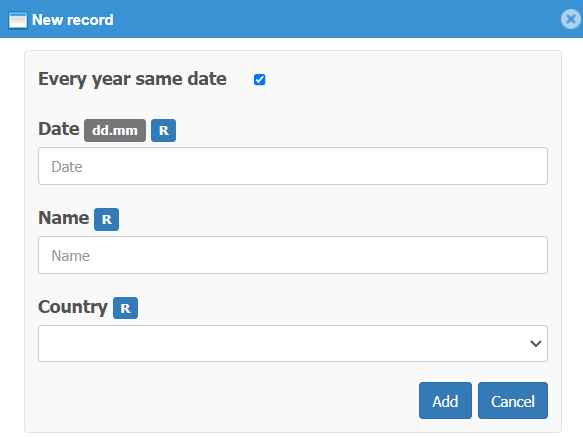
- Every year same date -mark whether the holiday falls on the same date every year
- Date -enter the date of the holiday
- Name -enter the name of the holiday
- Country -select the country to which the holiday belongs
Note
R- value is required In the case of Easter, which does not fall on the same date, the holiday is generated according to the preset algorithm.
# Readers, Areas, Types of cards, Cards
Description of code lists see. link
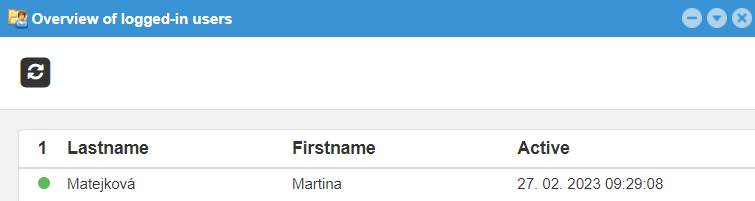
# Logged in users
Overview of users who are currently logged in to the system: